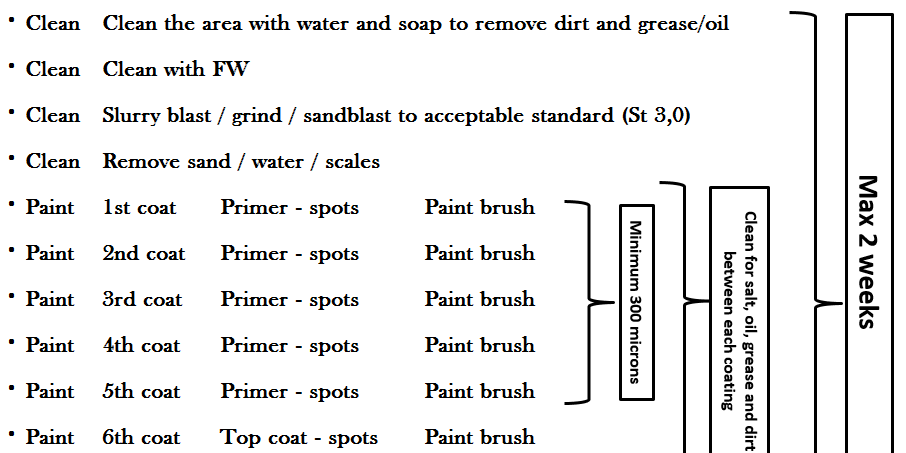
In this blog post I will go through a step by step “Painting schedule” that if followed will help the crew to achieve a good quality of work everytime.
This will give the crew a structured approach and minimize the risks of low quality work.
Making the onboard corrosion maintenance – Efficient – Practical – Easy
1. Cleaning the area for oil, grease dirt and salt
Oil and grease will need to be removed by washing with detergent. It is important to do this as the first step to make sure that it is not being “hammered” into the remaining surface during the mechanical cleaning.
Use FW to rinse well, this will also remove the salts.
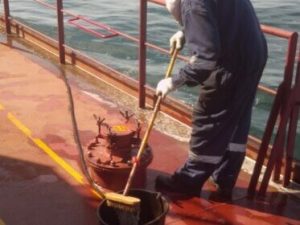
Use a good mix of detergent and a good brush.
Do not use thinner, it is not as efficient as a good soap solution.
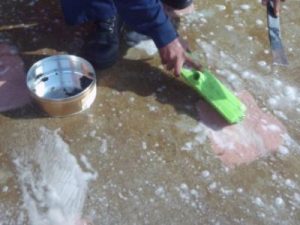
Hand cleaning of old sticky spots can be necessary.
Unlike this gentleman, make sure to use gloves when working.
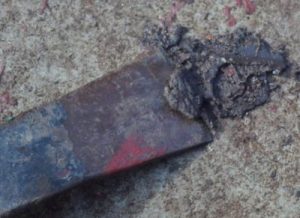
Remove old grease stains with a scraper
2. Mechanically clean the area to an acceptable standard.
Use a tool that will create a clean rough surface that the new paint can adhere to.
A huge variety of tools are used onboard today, and they are all good for certain aspects of the work. What needs to be taken into consideration is the extent of the job and the available resources.
A good mix of tools onboard is needs to be efficient, practical and easy to use for the crew.
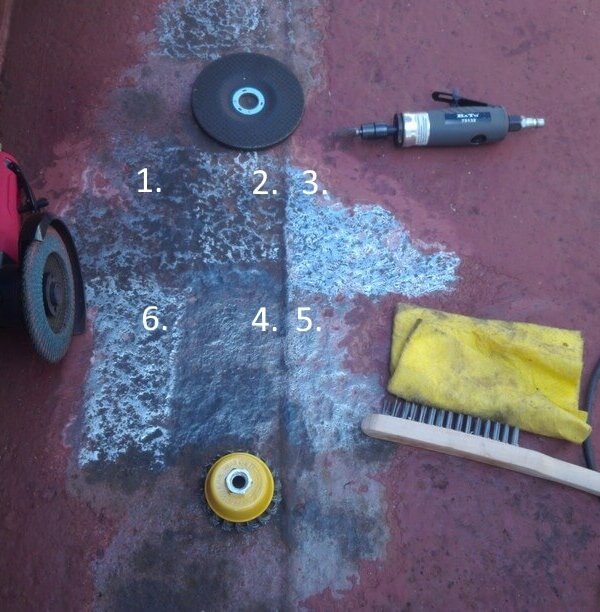
1. Abrasive mob/flap disc #40
It creates a rough profile but will go smooth when the disc is worn down
2. Abrasive stone grinding disc
It creates a rough profile but will remove some steel if the pittings are to be cleaned well.
3. Abrasive die-grinder
If used together with an abrasive disc it will clean the area well. It is very good for pittings before filling with puddy or re-welding.
Abrasive disc grinding can be acceptable if the area is cleaned very well by High Pressure Fresh water blasting afterwards.
4. The area has only been cleaned with a rotating wirebrush
It tends to make the area very smooth and dirty and should be avoided.
5. Hand brushing with water after rotating wirebrushing.
This will clean the surface very well but not in-depth of the small pittings.
It will leave the area clean but smooth.
6. Abrasive disc after rot. wirebrushing and cleaning by hand-brush.
This will leave the surface rough and the pittings clean but smooth.
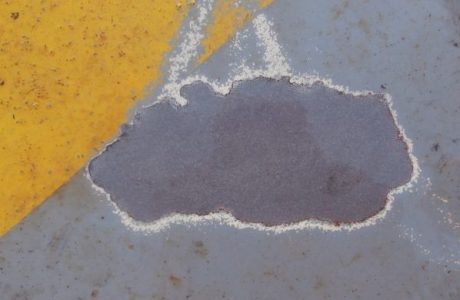
The spot has been dry sand or slurry-blasted to a good standard.
Note that the edges are not feathered and the blasting has damaged intact paint when moving from spot to spot.
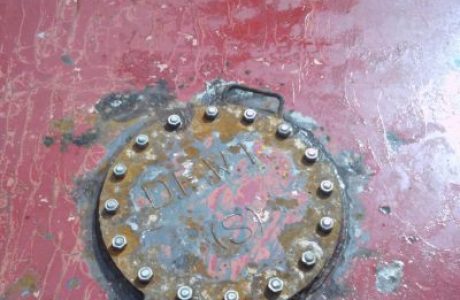
The area was full blasted by high pressure fresh water blaster above 800 bar.
Note that the water is not removed it will produce flash rust.
3. Clean the area
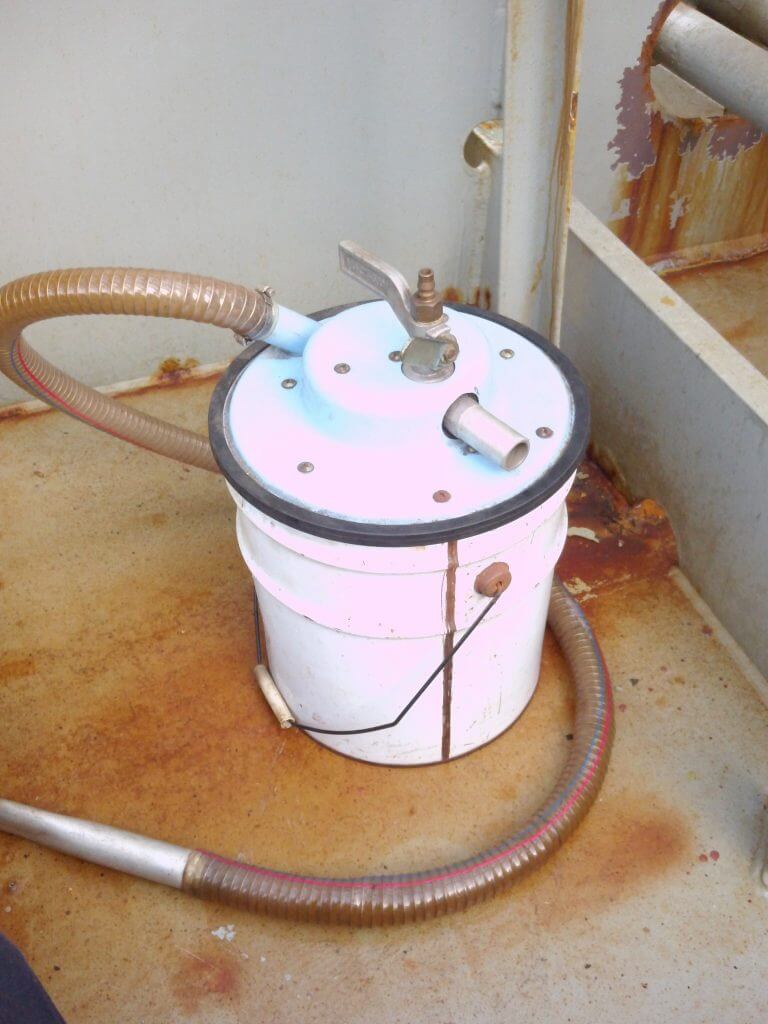
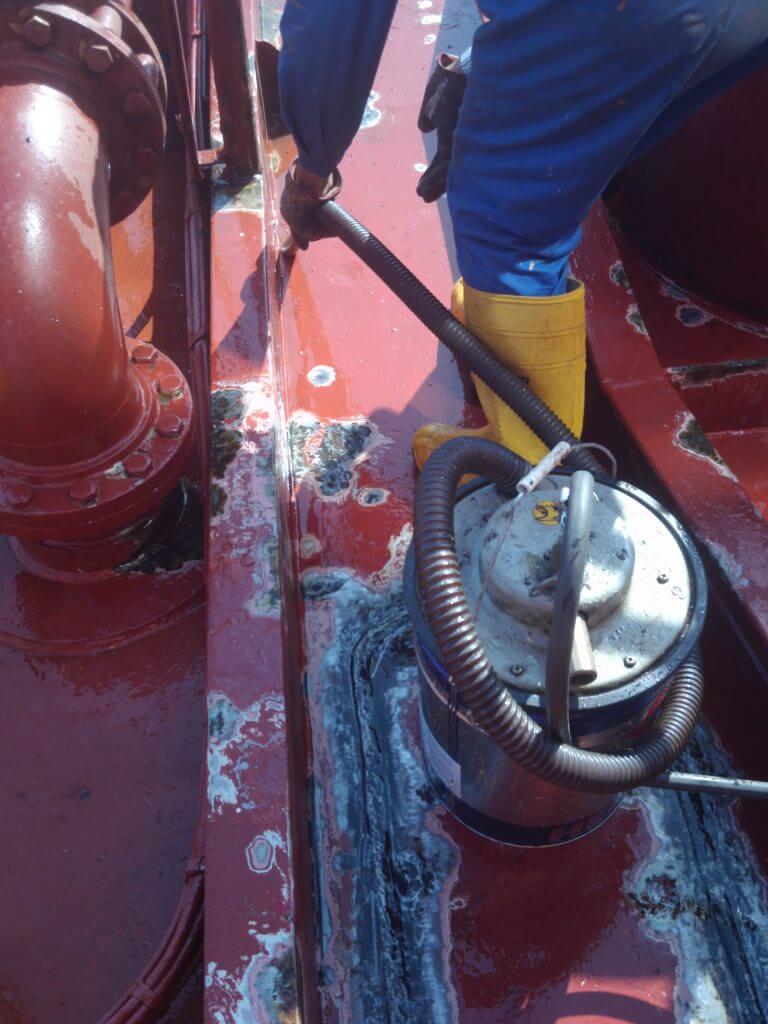
Clean the area for dirt and rust scales.
The best way is to FW HP blast the area to remove the dirt. Alternatively use a clean brush and hose it with freshwater.
If air tools have been used, it may be necessary to clean the area with detergent as the air can contain oil from the compressor.
To avoid contamination the water should be left to evaporate, removed with a vacuum cleaner or dubbing with clean rags.
Avoid blowing by air or using a mop-head.
4. Primer coating
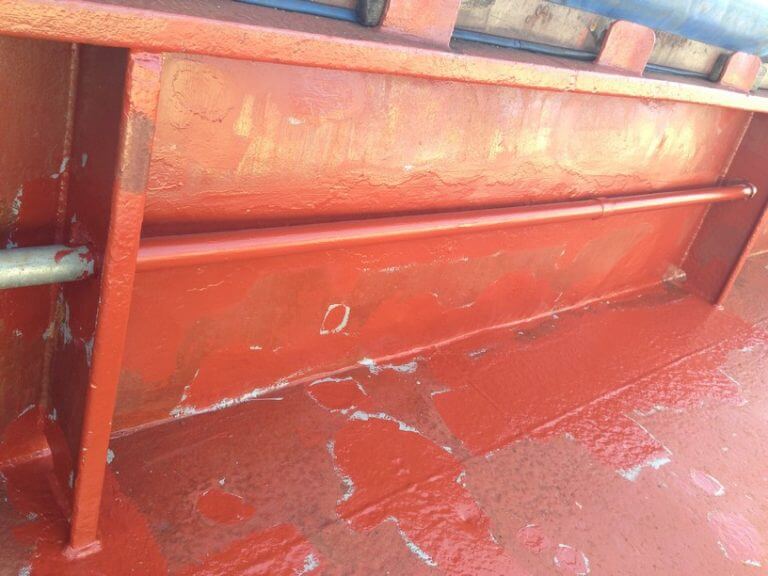
To properly protect the steel a primer with zinc or aluminium are generally used.
It is important that it is applied in a sufficient thickness to provide the proper protection.
A rule of thumb says +300 microns DFT for corrosive areas.
5 x coats by brush will usually provide app 3-500 microns depending on the skill of the worker, temperature, and paint used.
The last 2 coats of primer can be applied as a full coat by roller. This will provide a protective layer to the area, prolonging the lifetime of the original coating.
See also my blog post: Why we need 5 coats of primer
During my years at sea I have seen the coating cracking due to a too high DFT 2-3 times.
I have seen the corrosion re-appearing due to too low DFT 2-3.000 times.
If in doubt over apply
5. Top coat
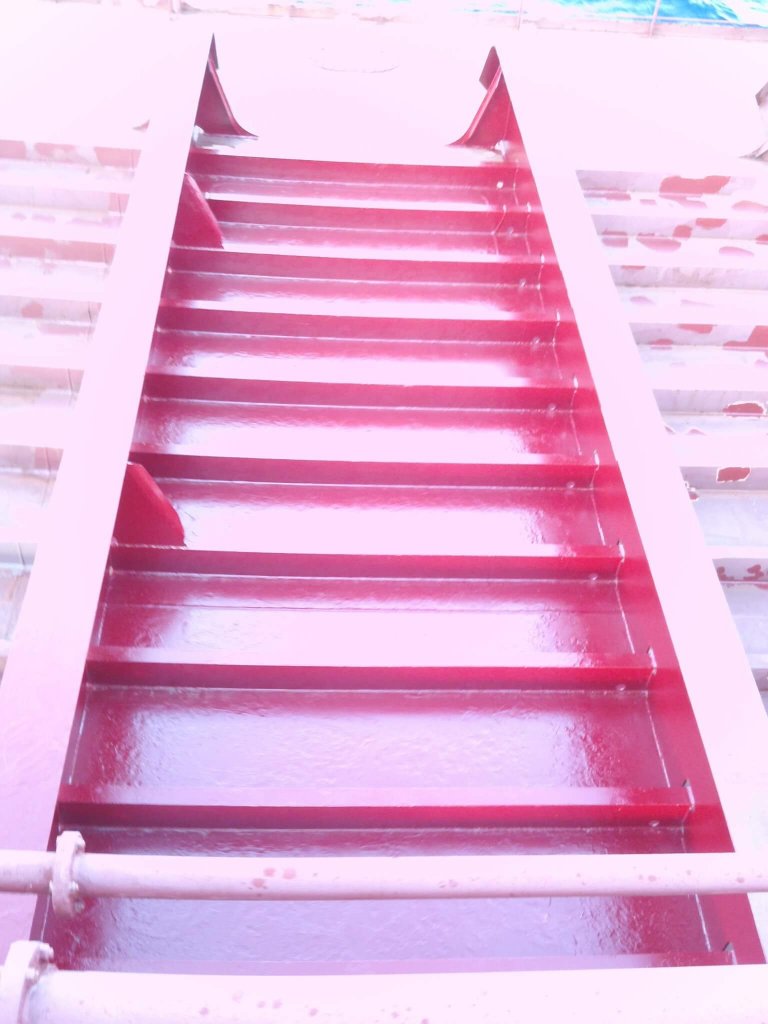
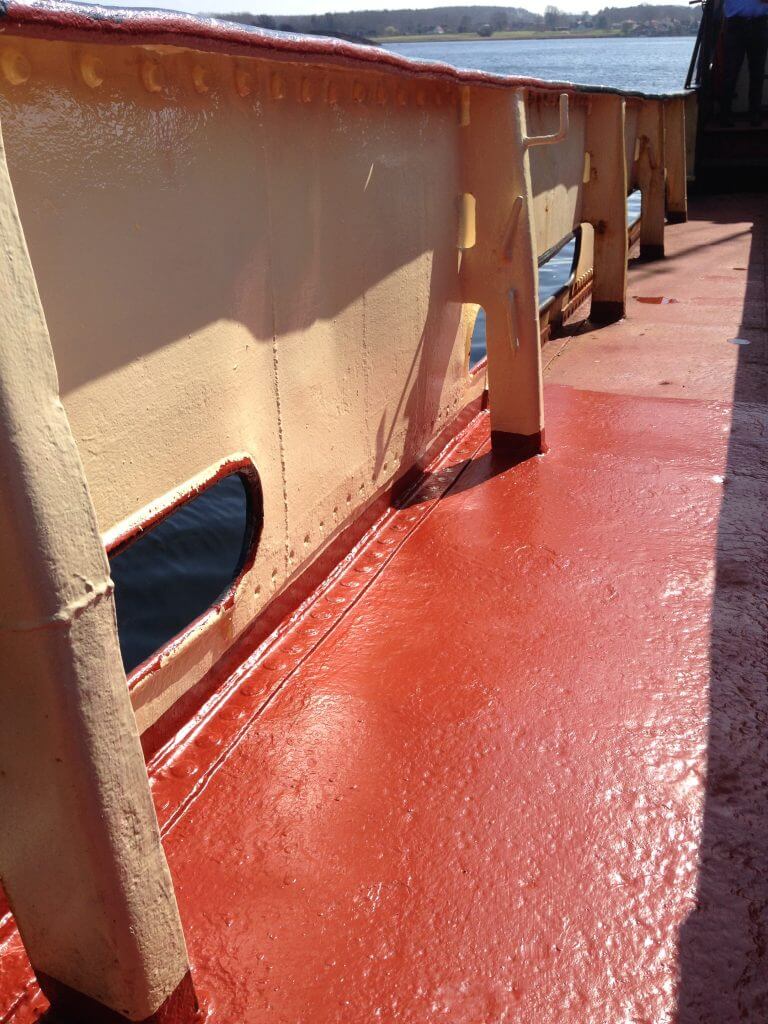
A top coat is to provide gloss and shine to the area. It will usually be a lot easier to clean and resistant to UV light.
This is cosmetic only.
Top coats have in general little or no protective capabilities and it is easily seen when it has been applied as cover on top of corrosion or a too low DFT of primer.
I see a clear tendency to use too much topcoat instead of primer, this is a mistake.
If the cosmetic appearence is not a primary concern consider not applying the topcoat.
6. Paint Schedule
I find that the be result is achieved if these steps are followed every time without exceptions.
This will give the crew a structured approach and minimize the risks of low quality work
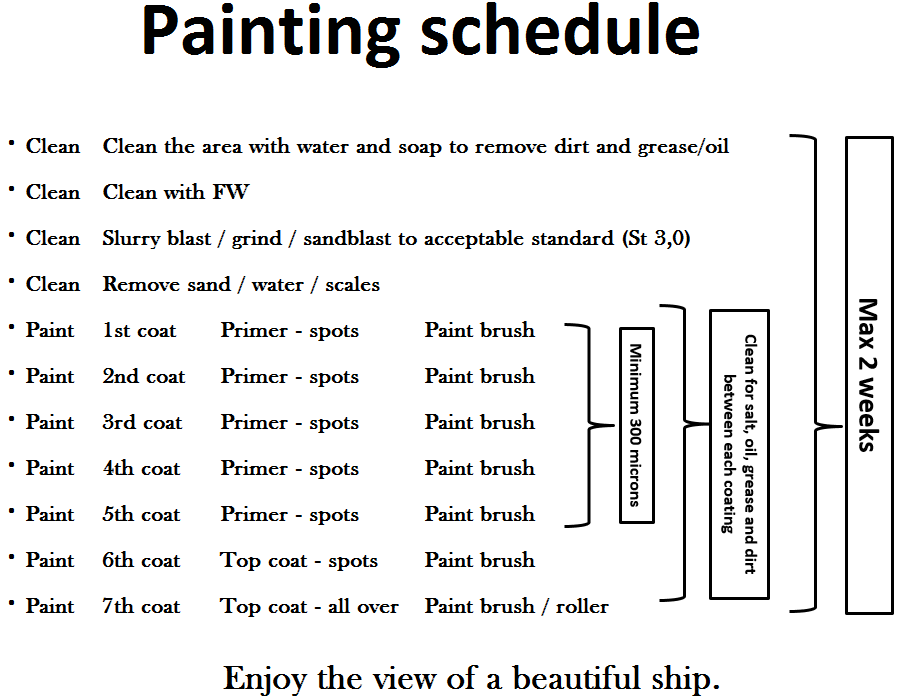
• Clean Clean the area with FW water and soap to remove dirt and grease/oil
• Clean Remove corrosion to an acceptable standard by HP blaster, sand-blaster, needle gun, abrasive discs.
• Clean Remove sand / scales / oil / dirt – it is best done by FW HP blasting and soap.
• Dry Natural evaporation is the best. Alternatively use clean rags or a vacuum cleaner.
• Paint 1st coat Primer – spots
• Paint 2nd coat Primer – spots
• Paint 3rd coat Primer – spots
• Paint 4th coat Primer – spots / full coat
• Paint 5th coat Primer – spots / full coat
• Paint 6th coat Top coat – spots / full coat
• Paint 7th coat Top coat – full coat
Some crewmembers express a concern that following this “Painting Schedule” is too time consuming and they are “afraid” to appear slow and in-efficient.
This will need to be addressed by the senior officers in order to avoid lowering the quality.
See my blog post Corrosion Maintenance – How our work affects us
We want quality over quantity as it will last longer, giving us time to do other work.

